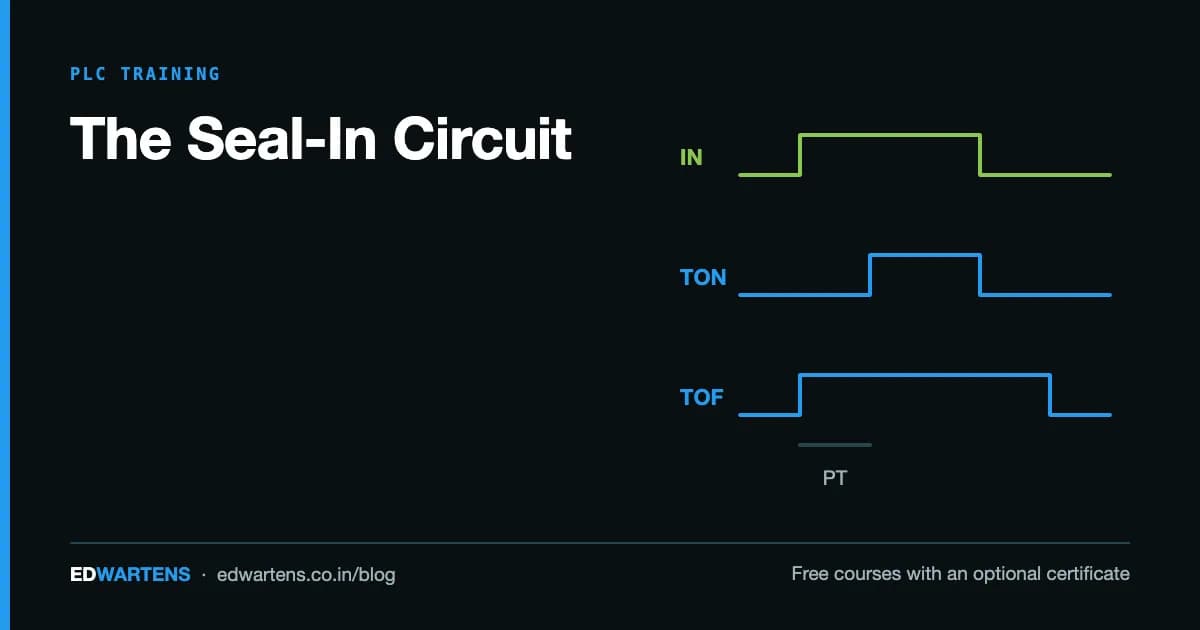
The Seal-In Circuit: The First Rung Every PLC Programmer Must Be Able to Draw
The circuit
A start button is momentary. You press it, it makes contact, you let go, it opens. Yet the motor has to keep running. Something must hold the circuit closed after your finger leaves the button, and that something is the motor's own contact, wired in parallel with the start button.
That parallel branch is the seal-in, also called a latch or a hold-in.
In ladder:
    Start_PB      Stop_PB                      Motor
 ---| |---+-------|/|--------------------------( )---
          |
   Motor  |
 ---| |---+
Read it as: the coil energises if (Start is pressed OR Motor is already running) AND Stop is not pressed.
Once Motor energises, its own contact on the second branch closes, so releasing the start button no longer breaks the rung. Pressing stop breaks the whole thing, the coil drops, the seal-in contact opens, and the circuit will not restart until somebody presses start again.
Why this rung is the interview question
Almost every controls interview asks for it, because it tests four things at once:
- Do you understand that a coil's own contact can feed back into its own rung?
- Do you know why the stop is in series and the start is in parallel?
- Can you draw it without hesitating?
- Do you know how the buttons are wired in the field, as opposed to how they appear in the program?
Point four is where most candidates lose it.
The normally closed stop button
Here is the part that separates somebody who has wired a panel from somebody who has only used a simulator.
In the field, a stop button is wired normally closed. At rest it passes current. Press it and the circuit opens.
In the program, that stop input is examined normally open, that is, with a | | contact, not a |/|.
That looks backwards until you ask what happens when the cable to the stop button is cut.
- NC stop button, cut wire: the PLC input goes false, the rung breaks, the motor stops. Safe.
- NO stop button, cut wire: the PLC input was already false, nothing changes, the motor keeps running, and pressing stop now does nothing at all. The operator is holding a button that is not connected to anything.
A broken wire must fail towards the safe state. That is the entire principle, and it is why every stop, every emergency stop and every safety interlock in industry is wired normally closed.
The diagram earlier shows |/| for Stop because it is drawn from the operator's point of view. On a real machine, with a real NC button, the program contact would be | |. If an interviewer draws it one way and asks you to explain, explain both.
The variations you will meet
Set and reset coils. Instead of a seal-in branch, some programmers use a latch (S) and unlatch (R) pair. It works, and on large sequences it is tidier. It also has a trap: an S coil holds through a program stop and often through a power cycle, so the machine can come back energised. A seal-in built from an ordinary coil drops out when the processor stops, which is usually what you want.
Multiple stops. More than one stop station? Put every stop contact in series. Any one of them opening must break the rung.
Multiple starts. More than one start station? Put every start contact in parallel with the seal-in. Any one of them can start it.
Interlocks. Guard closed, oil pressure healthy, no overload trip: these all go in series with the stop, because every one of them must be true for the motor to run. The pattern is always the same: things that must all be true go in series, things where any one will do go in parallel.
Why a hardwired stop is still required
A seal-in in the PLC is a control function, not a safety function. The processor can halt, the output card can weld, and the program can be edited by anybody with the software. For anything that can hurt somebody, the stopping function must also exist in hardware: a safety relay or a safety PLC, with the contactor coil broken by a physical contact.
Saying this in an interview matters. An engineer who describes a PLC rung as the emergency stop has told the interviewer something worrying about how they think.
Build it, do not just read it
You can draw this rung correctly and still take twenty minutes to make it work the first time on real hardware, because the field wiring, the input addressing and the contact sense all have to agree. That gap between understanding and doing is exactly what employers are probing when they ask.
On the Automation Engineer Program you wire the panel, address the I/O, write the rung and prove it with a meter, in that order, on real hardware across 20 PLC brands. See the programme or book a call.
Related: PLC timer types explained, Emergency stop and safety circuits, Control panel wiring standards in India.
For classroom practice, our PLC course in Bangalore: syllabus and duration sets out what is taught and for how long.
Learn this, free
The courses that teach this
Every lesson, the written notes and the practice are free with an account. Only the certificate is optional and paid.